Laser Tag 101 - How to set up for laser tag
Merrill Dunes
When you arrive, we get you a hat that fits your head. Small, medium, large, and extra large are available.
We also have head bands. The hat or head band is vital to the attachment of your laser sensors.
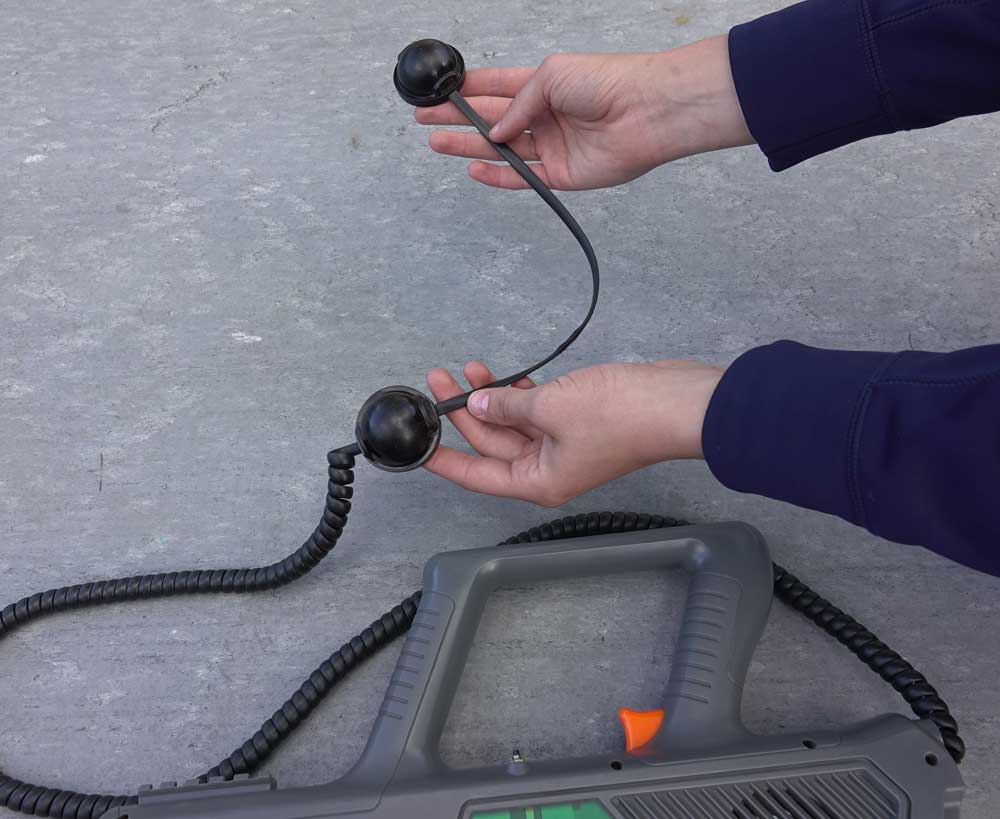
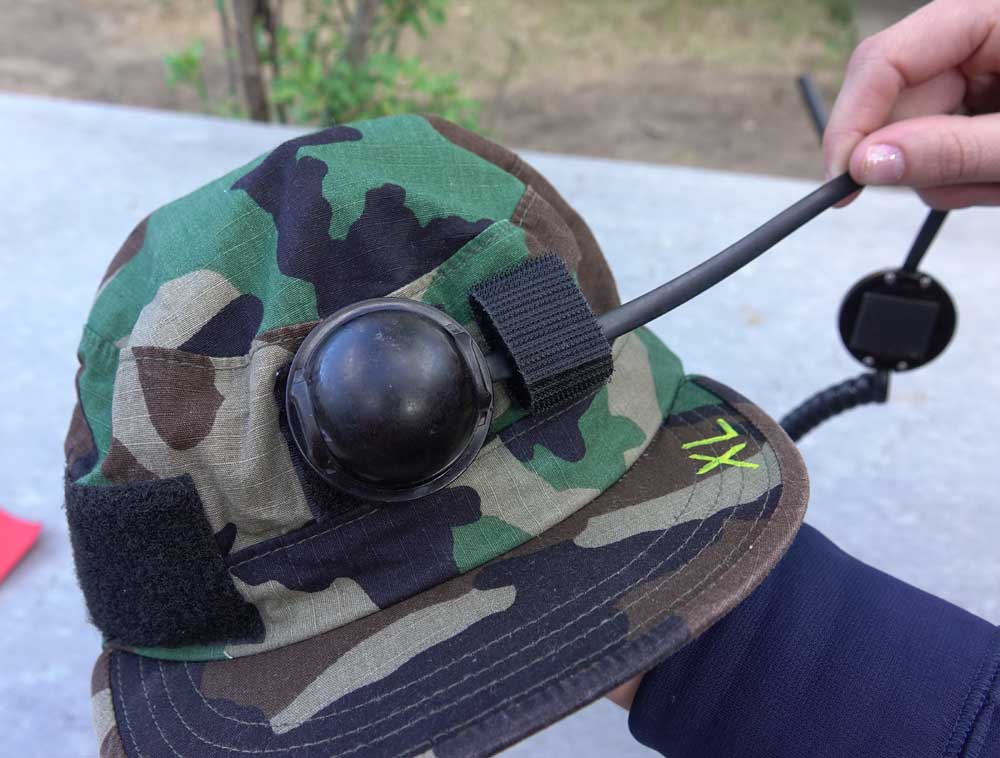
Your laser gun has a sensor cord with two sensors on it. Our current system comes with velcro patches attached to the sensors, unlike this older photo.
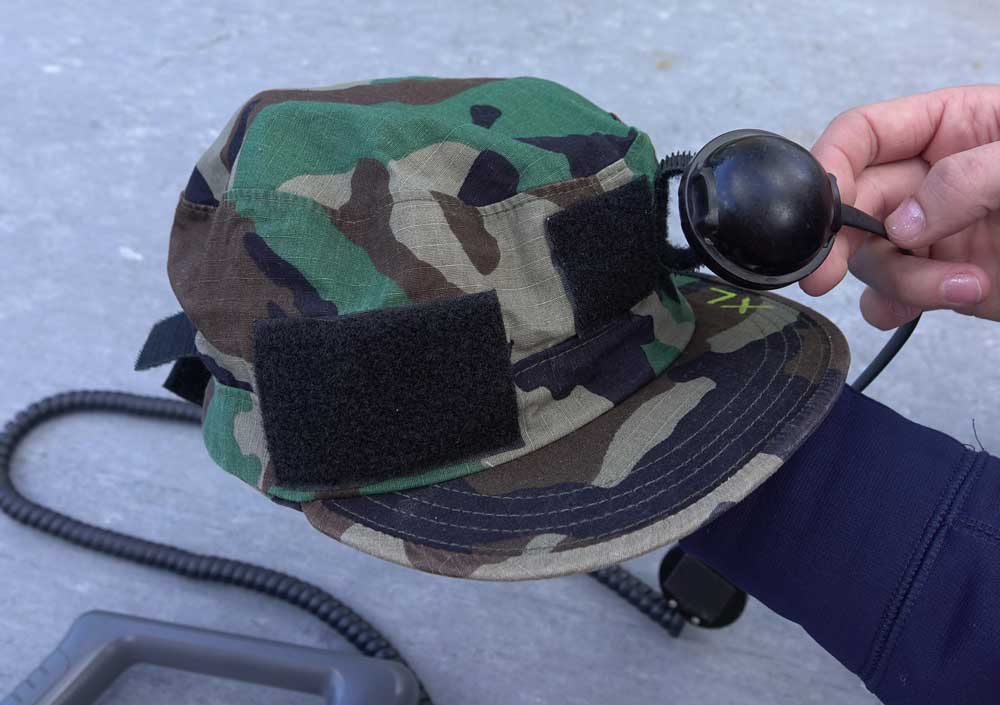
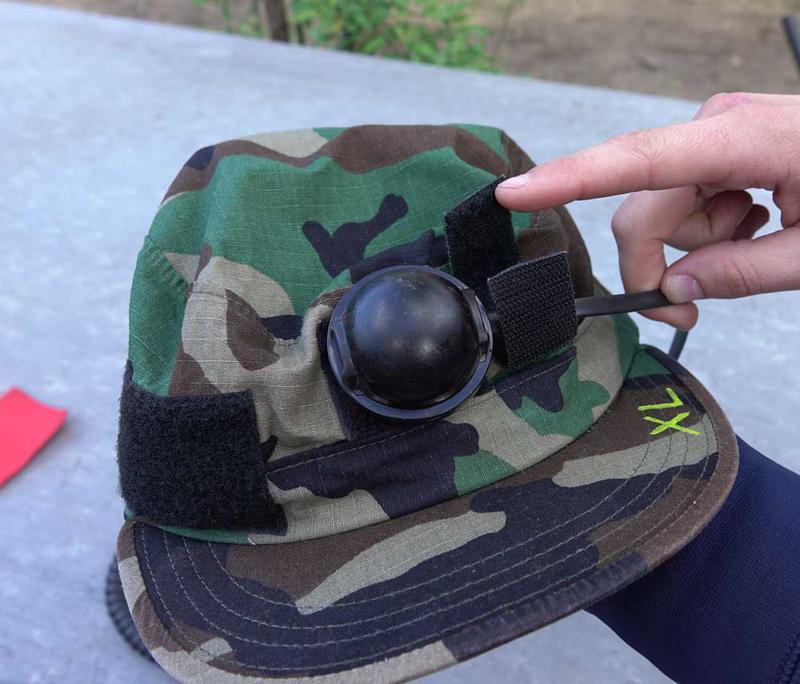
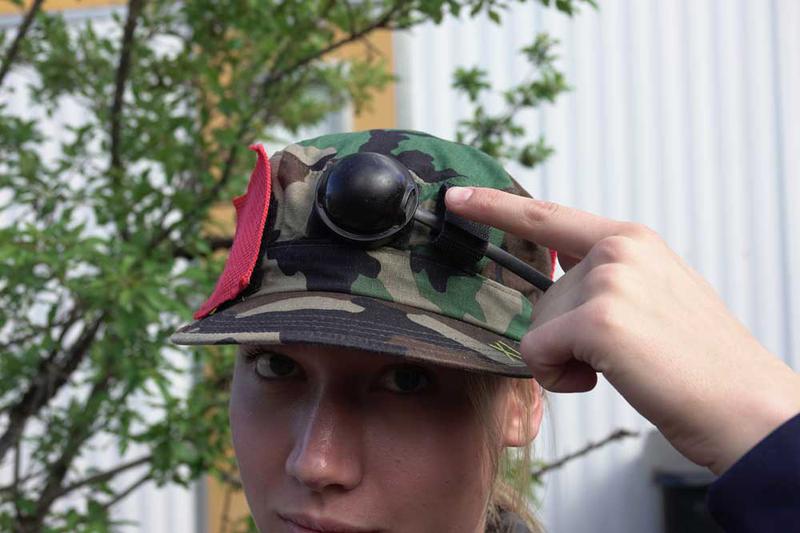
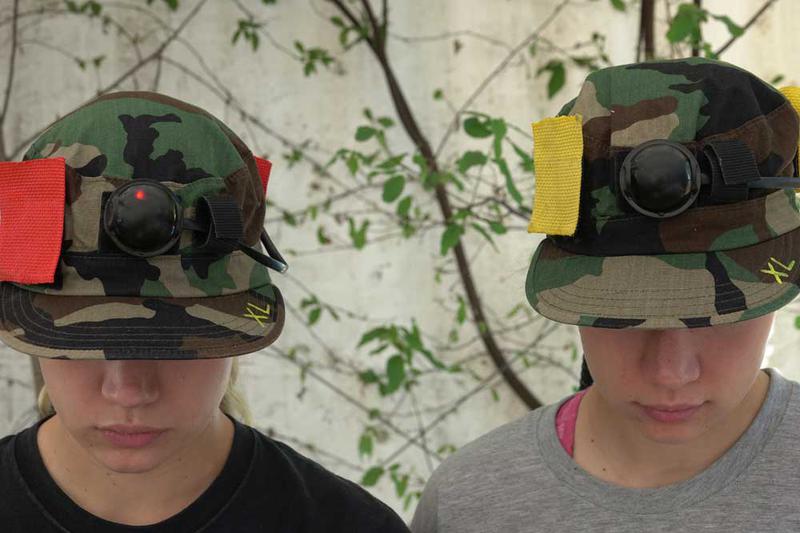
The end sensor sticks on the velcro pad on the front of your cap.
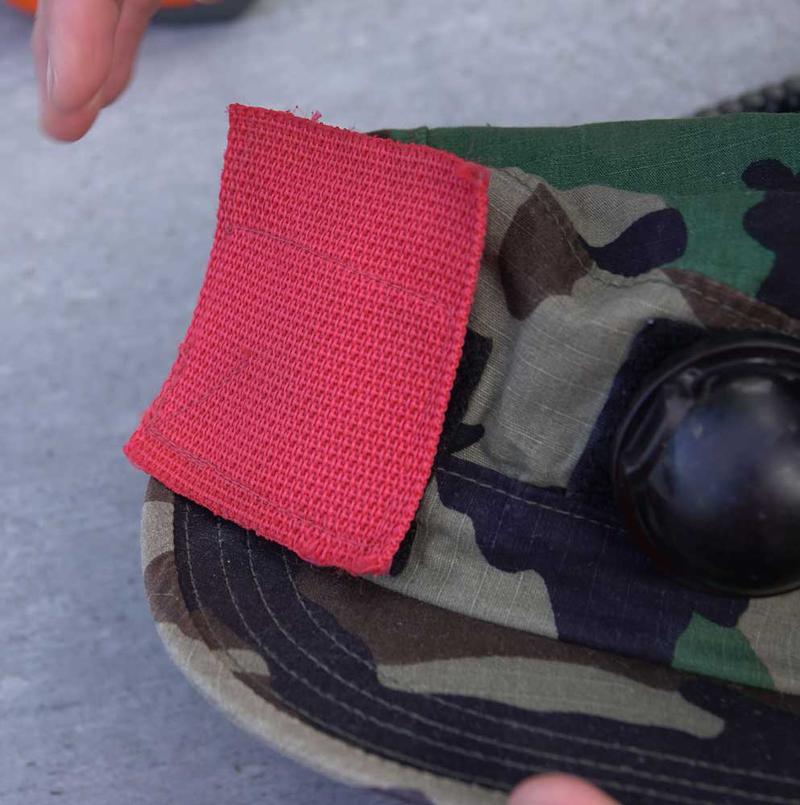
The large velcro patch to the side is for your team colour patch - more on that later.
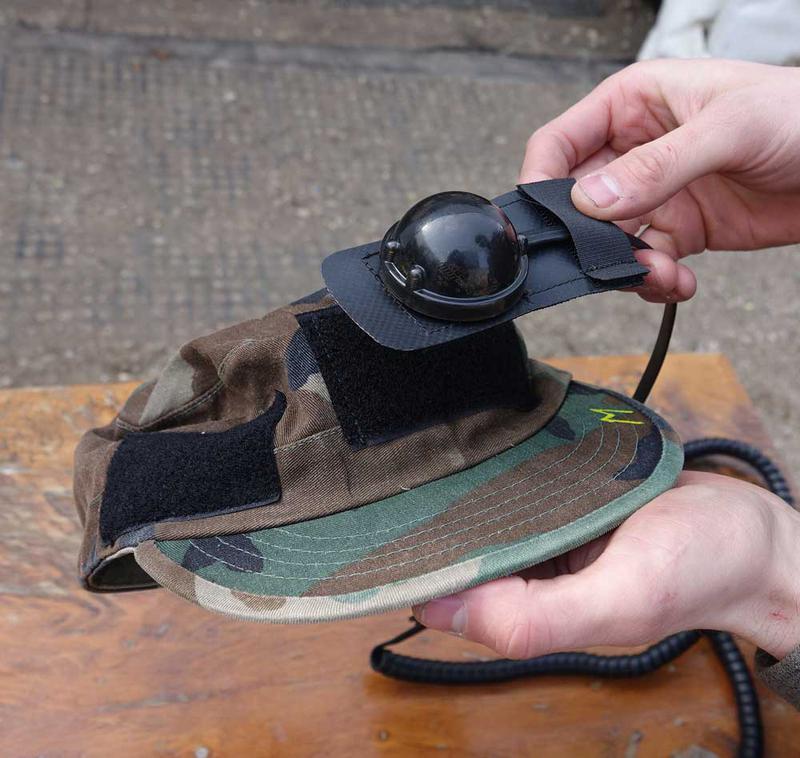
Due to a radical new Merrill Dunes design, this step is no longer necessary. The locking velcro strips are incorporated in the new system.
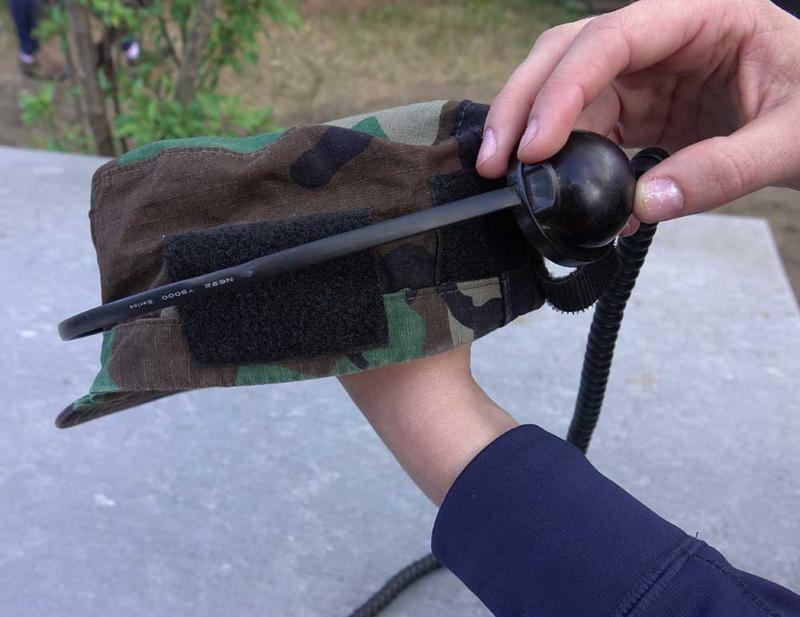
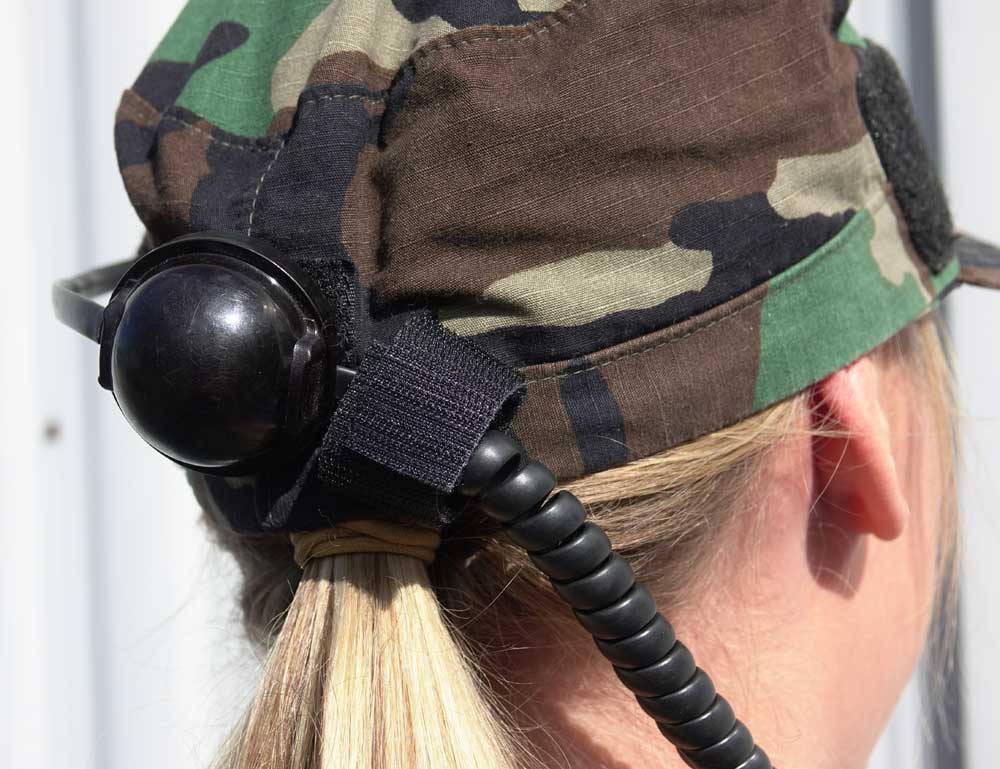
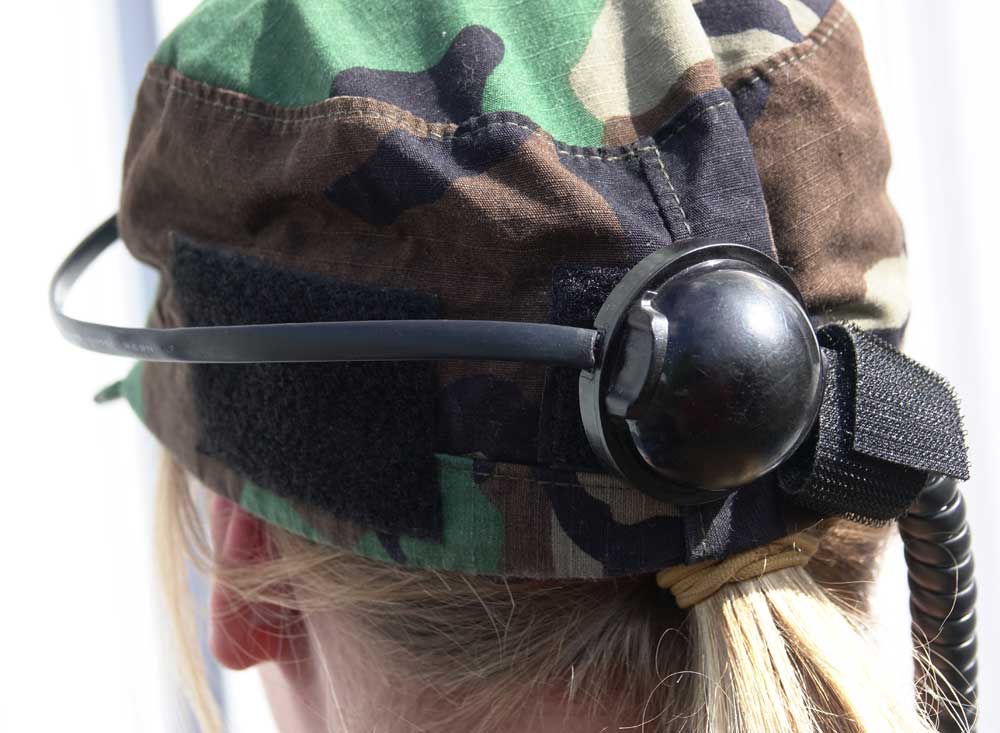
The cord wraps around the left side of your cap, heading to the rear of the cap.
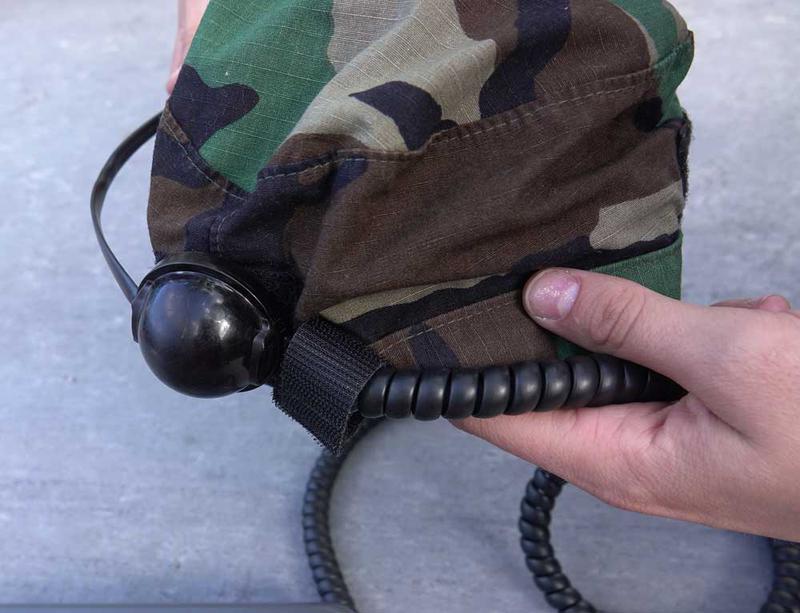
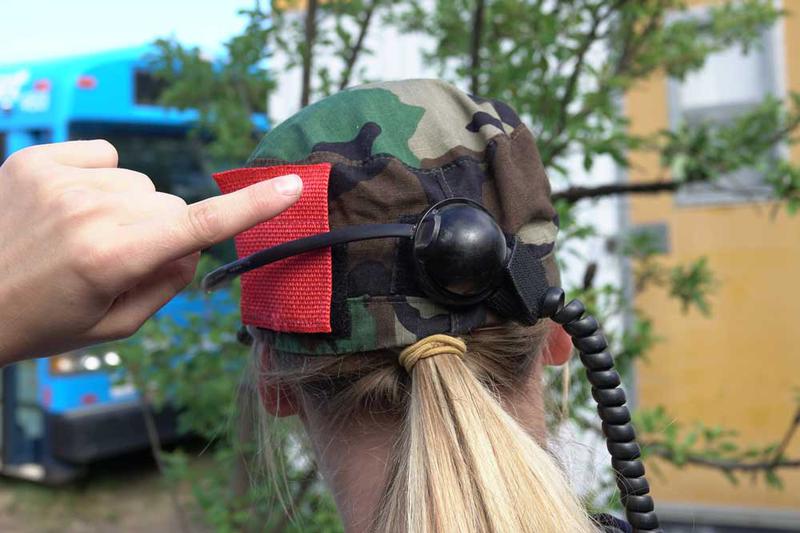
The second sensor attaches to the velcro pad on the rear of your cap.
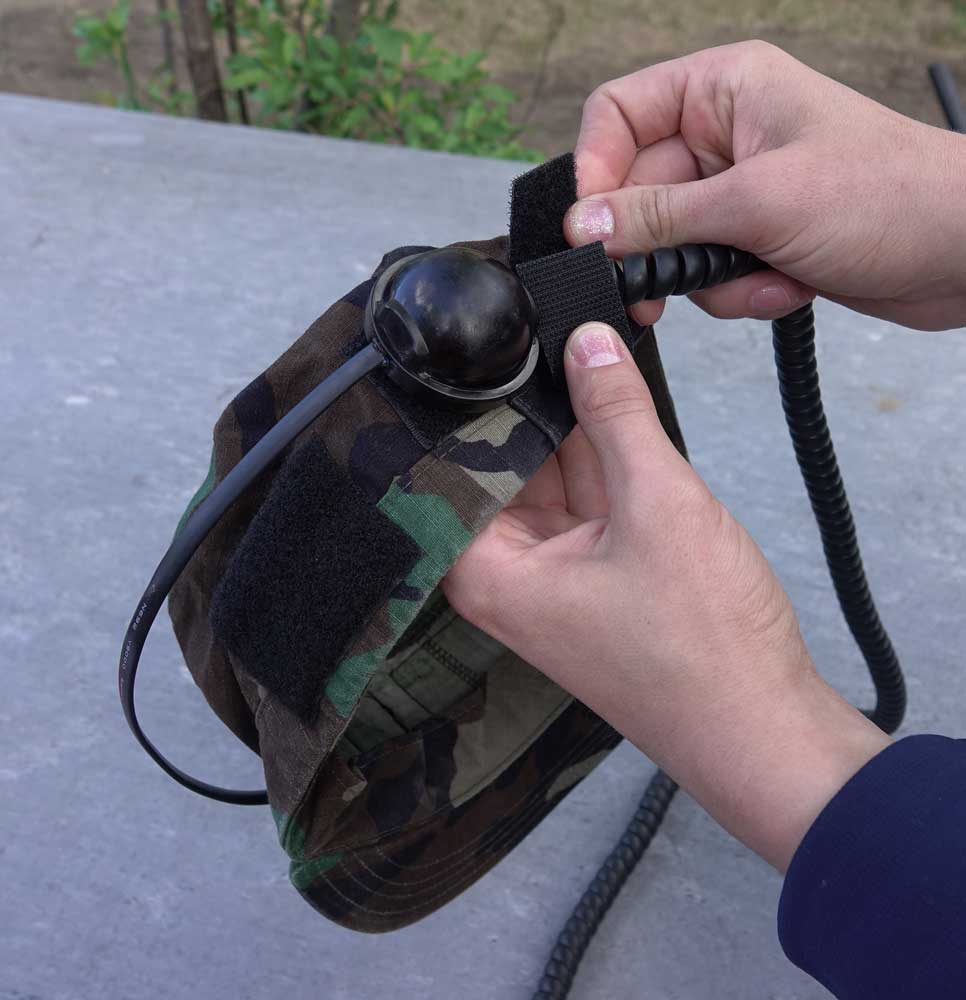
Then, the final and most important step - make sure the final overlap velcro lock securely holds the cord. Failure to get this lock secure will mean your movement of the gun will pull the cord and sensor system off your cap.
Again, the velcro lock is now incorporated into our new attachment system, so the sensor assembly simply attaches in one simple step. (see photo of new attachment system above.)
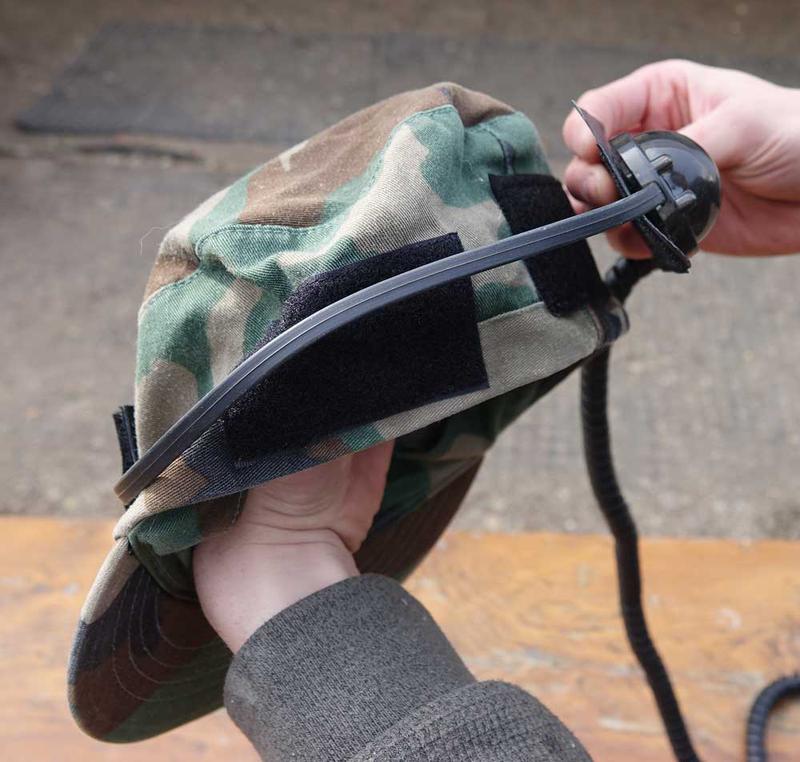
Here we see another view of the important final velcro cable lock (looked after automatically in our new sensor attachment system).
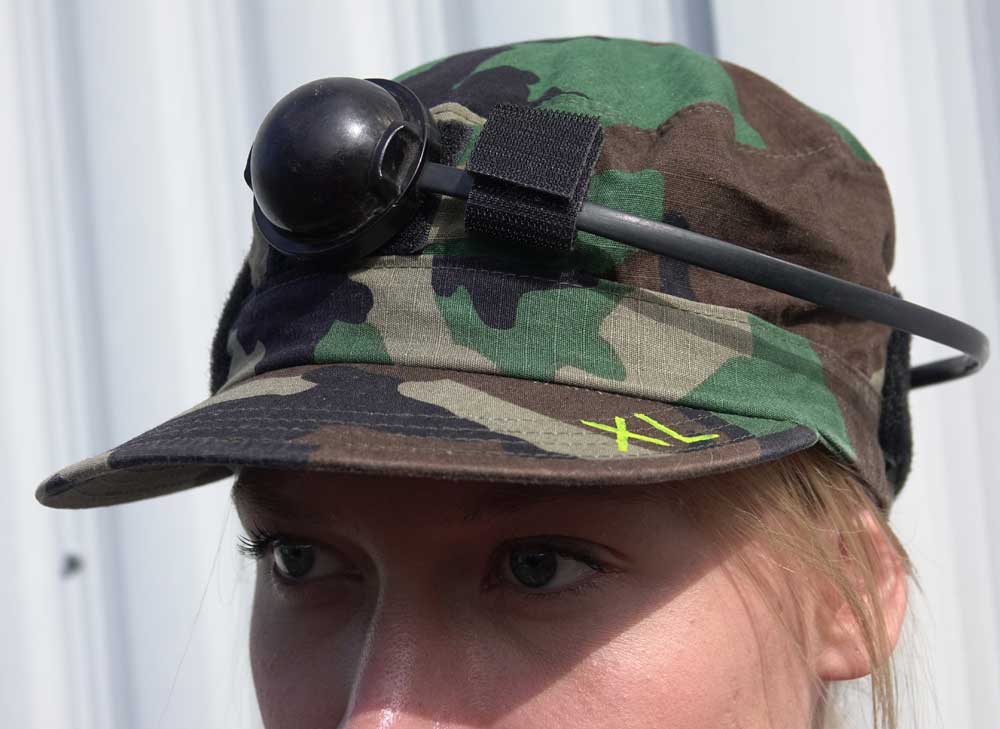
And a view of the front sensor and the front velcro cable lock with the hat on a player. (old system, but similar to the new system as far as final result goes.)
Again, the final velcro cable lock on a hat that is being worn. (old system)
Again, that important final velcro cable lock. (old system)
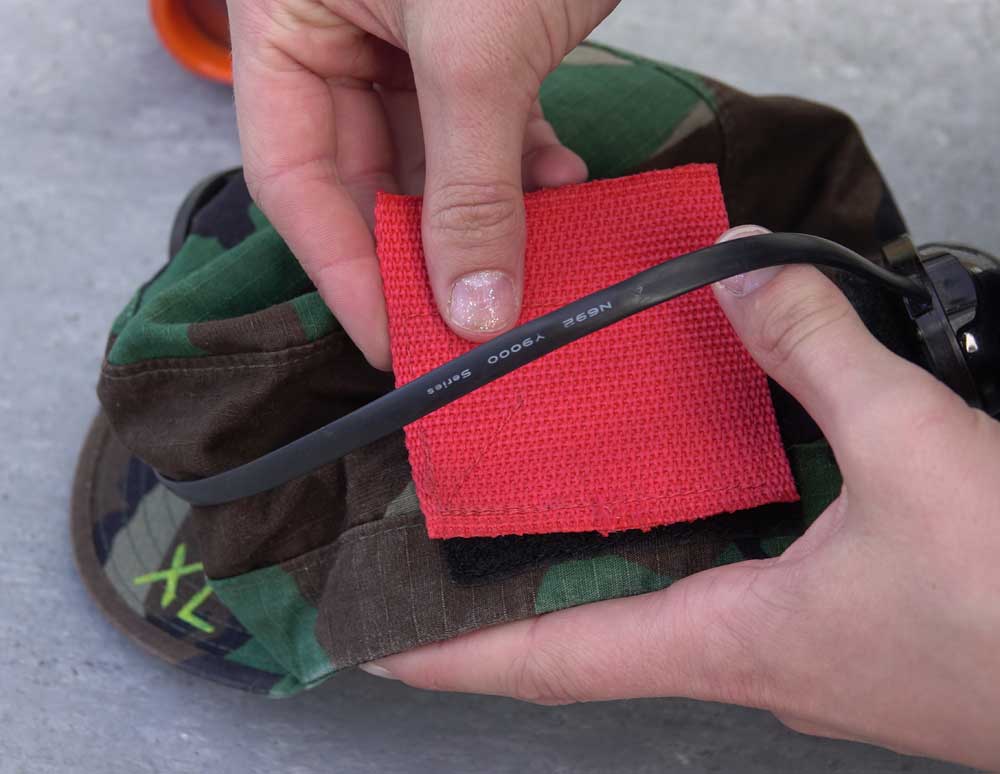
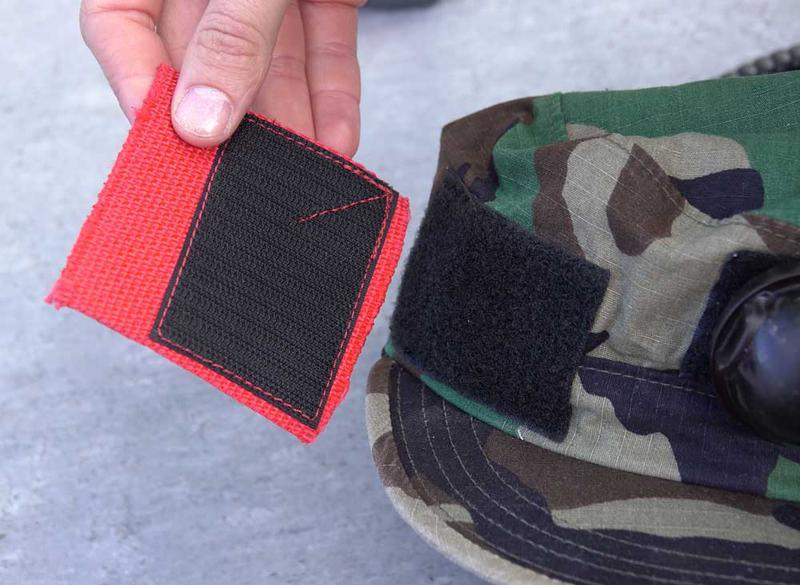
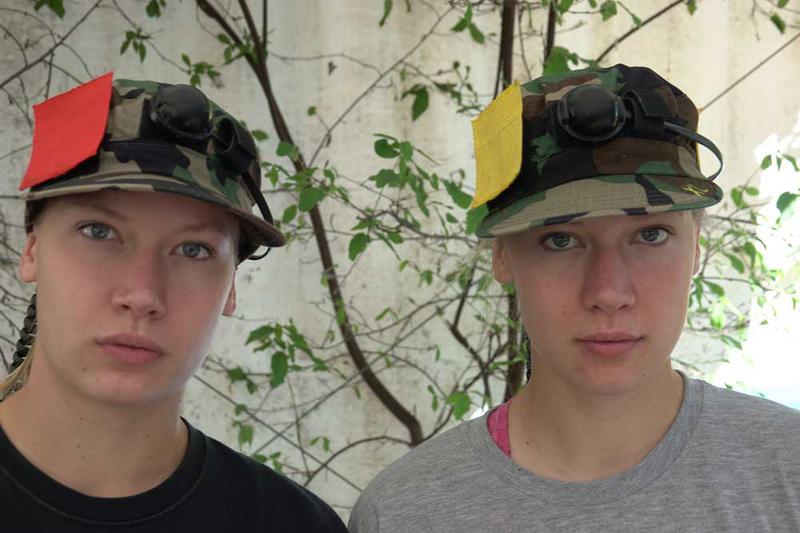
The Team Colour Patches need to be securely pressed onto the velcro attachment pads on the hat. These colour patches identify team red or team gold.
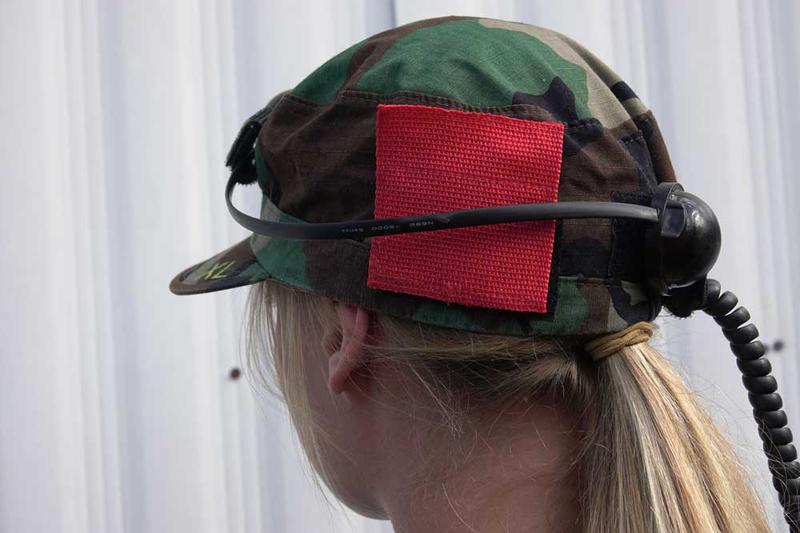
A team colour patch goes on each side of the hat, opposite each other, so the player is identified from all angles.
The colour patches are on either side of the player's head and at 45 degrees off face direction. This arrangement gives good visibility to other players.
Another view of a correctly and securely attached team colour patch.
The basic skill of the game is to be able to aim your laser gun so as to hit any one of three sensors belonging to a player on the other team.
One sensor is the plastic dome on the laser gun.
A second sensor is the sensor on the front of the cap.
The third sensor is the one mounted on the back of the laser hat. Hits on any of the sensors knocks 20 health points off your initial 100 health points that are stored in your gun.
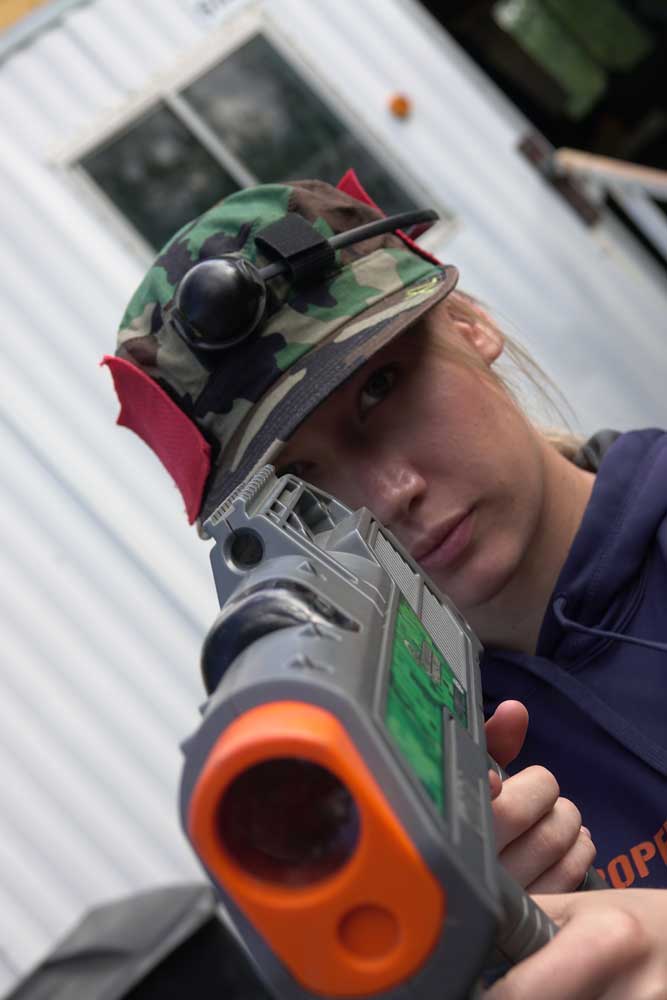
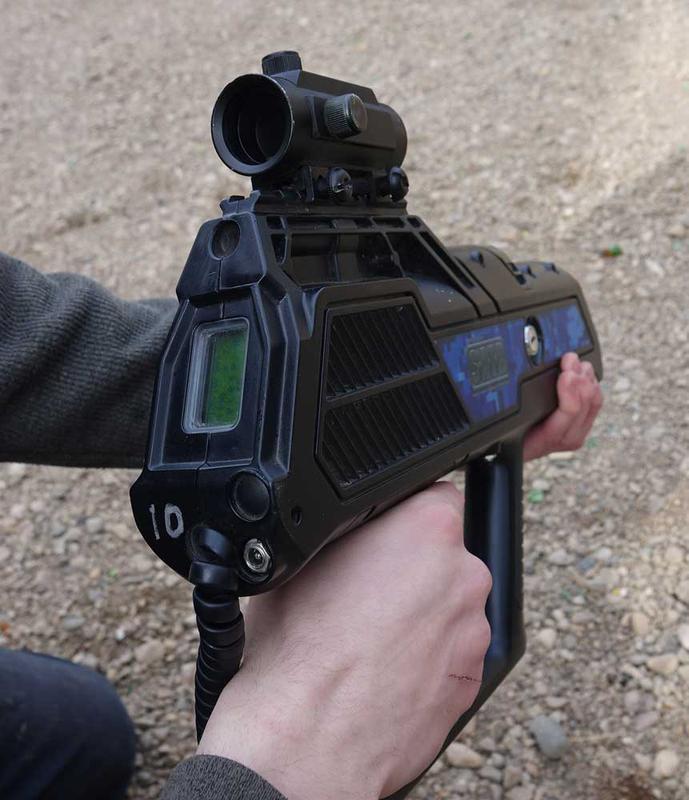
Aim your laser gun at a sensor by using the red dot scope, and fire. (See current gun and scope in photo below)
If your gun makes the normal firing sound, you have missed.
If your aim is correct, a voice in your gun will say "hit". Each player has 100 health points and a hit on a sensor will drop this figure by 20.
When an enemy's health level drops to 60 points and you hit him, your gun will say "wound". You have him in trouble!
A final hit will generate a "Kill Confirmed" message.
If your shot is accurate but you hit a player who has already been killed, your gun will tell you "Dead Already".
Randomly, you may get a "critical" statement from your gun. This means that you have knocked 40 health points off your opponent. This is a very random occurance over which you have no control.
The video and this photo presentation were made using an older equipment system. The current laser guns have a red dot scope, which makes for much easier aiming. Keep back a ways from the scope, line the red dot in the scope up with your opponents gun or head sensor, and fire.
The laser guns are top quality equipment and expensive to buy. Please look after them.
Don't bang them on things or drop them.
Don't spill drinks on them.
Don't yank them by the cord or carelessly stretch the cord. This is vital!
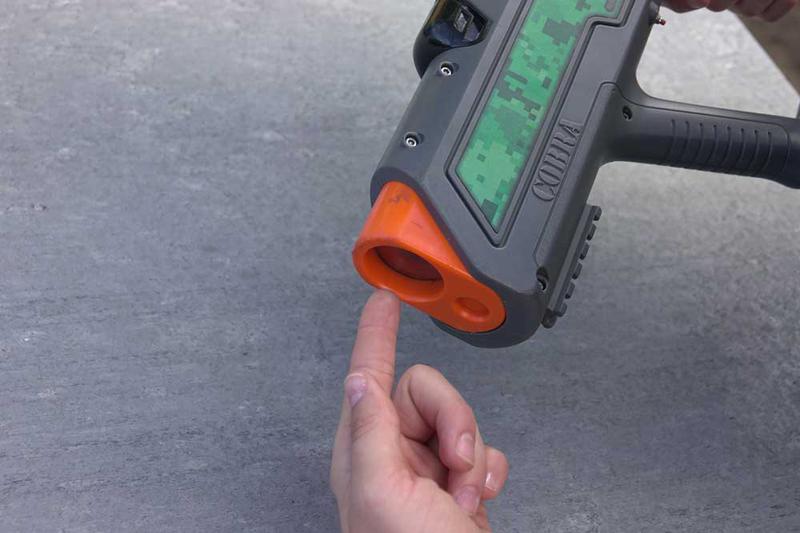
And be careful to avoid touching the laser tube.
Safety: If you fall, be careful that you don't hit your face or teeth on the gun.
If you do fall and get the laser tube or the red dot sight dirty, don't try to clean it yourself - bring it to the kiosk and let staff clean it for you.
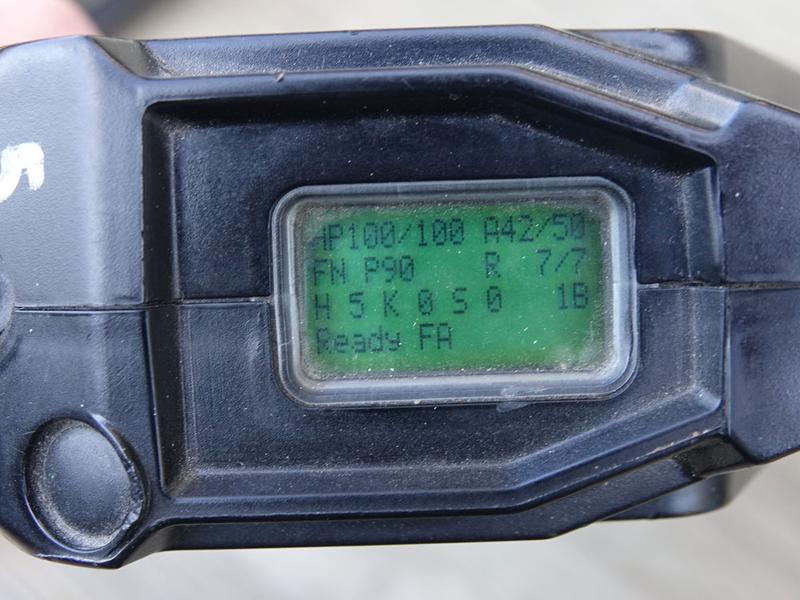
The gun display screen provides a lot of really useful information. You have 100 health points. This figure drops as you are hit. When you are hit, your gun will let out a laser like sound. Once your health drops to 60 points, a hit will trigger an "oof" sound. And a killing shot will trigger a "scream" and your gun will quit working until you reactivate at a medical box.
Friendly fire has no effect on you. A medic box will only work if you are fully dead.
You have 7 clips of 50 shots each. The gun pictured has used 8 shots of the 50 in the first clip.
When you empty an ammo clip, your gun will stop firing and will make a clicking sound.
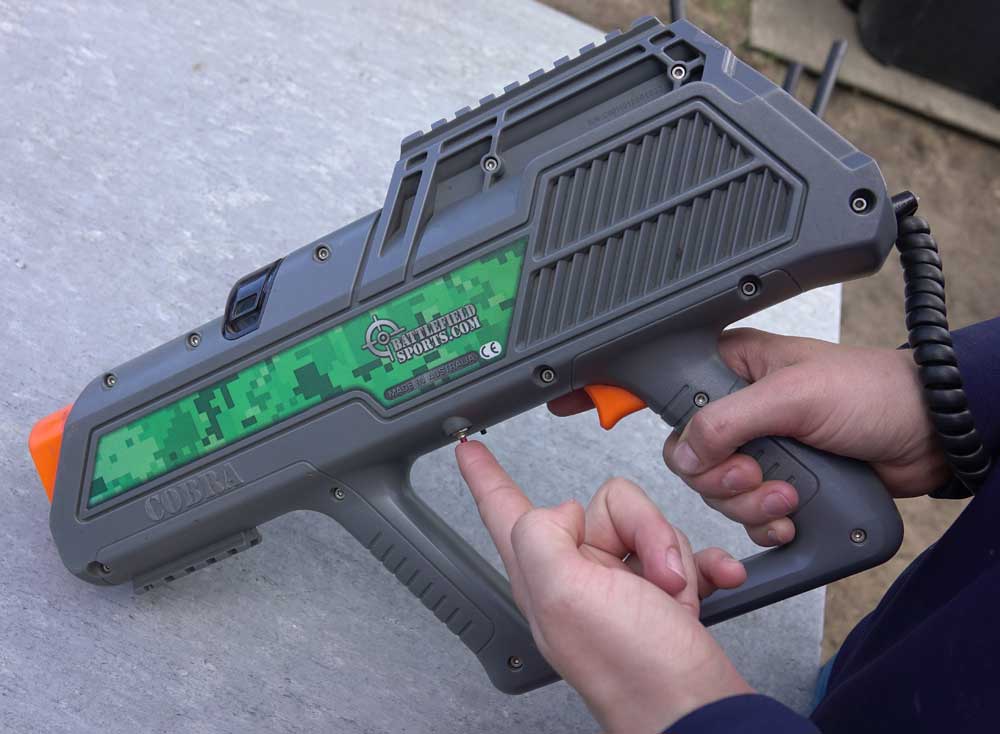
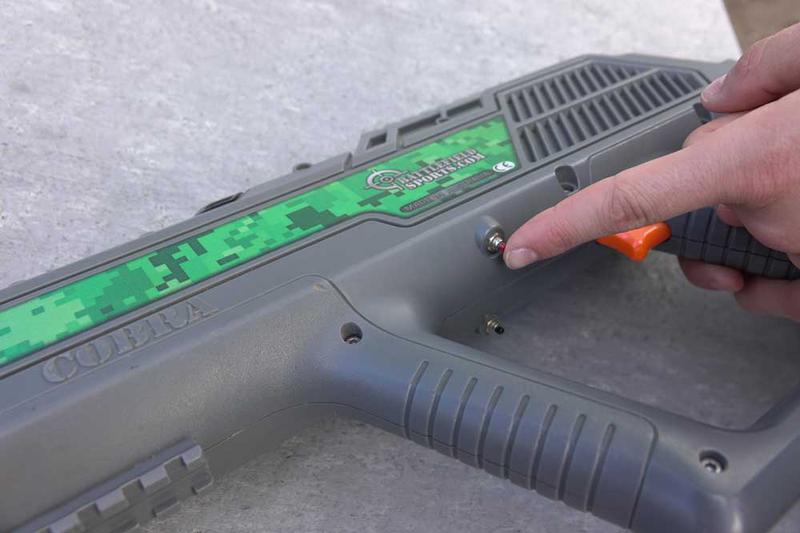
When you run out of ammo in a clip of 50 shots, you can reload with a new clip by pressing the red button on the lower left side of the gun - just ahead of the trigger.
It takes the gun about 3 seconds to reload. During that time, you can be hit but you can't fire back - so stay down!
If you reload before a clip is empty, the remaining shots are lost.
A closer view of the reload button.
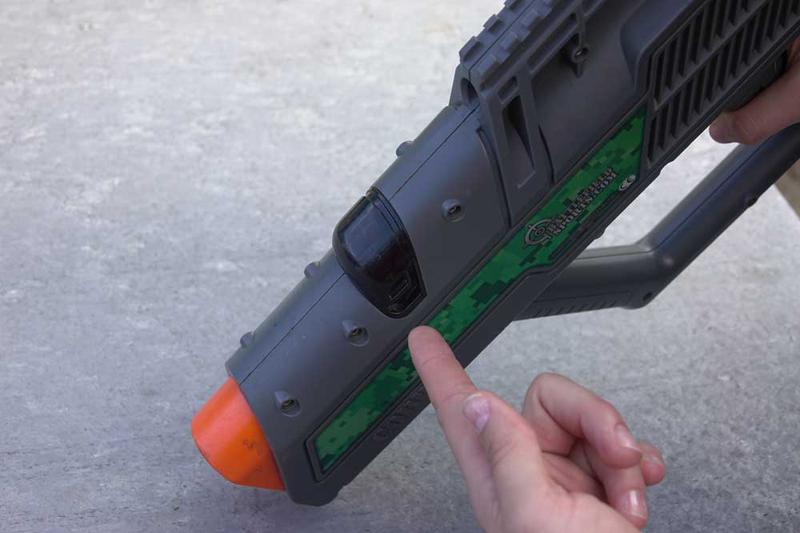
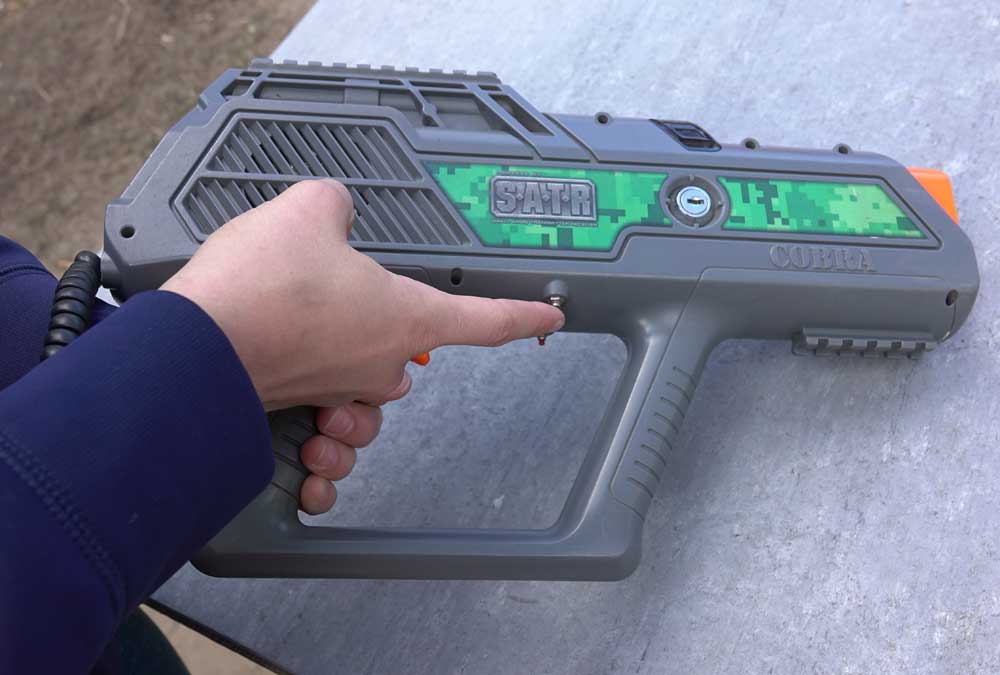
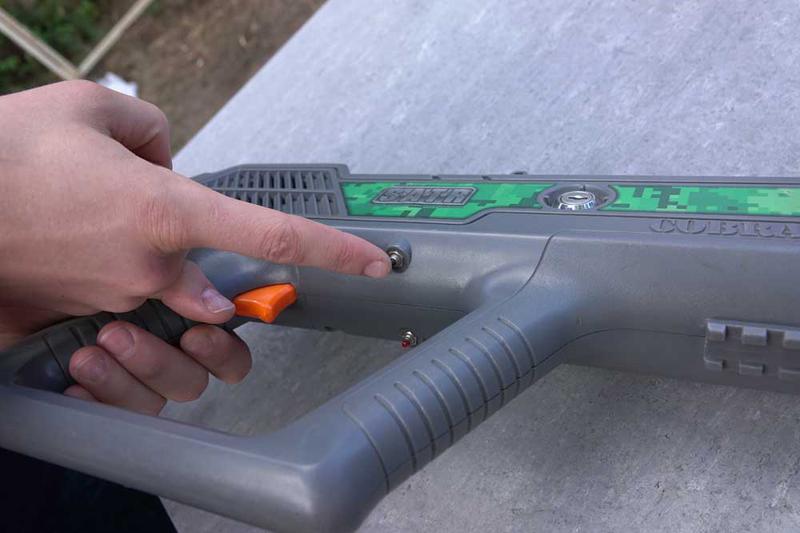
The small black button on the lower right side of the gun, just ahead of the trigger, switches the gun between single shot mode and full auto mode. Full auto gives a machine gun style of fire. Semi auto fire is one shot per trigger pull.
Range is the same for single or rapid fire modes. In games where there are no respawns, you may wish to use semi mode to save ammo.
A closer look at the fire mode button.
Both these players, one on Team Red and one on Team Gold, are alive and well!
The Team Red player's gun has been killed. A red LED lights up on her head sensors.
To respawn when your gun has been killed, go to your team Medic Box and press the large red button (green button on new medic boxes).
So long as your gun or head sensors are hit by the invisible light rays from the medic box, your dead gun will say "Respawned" and you will have full lives and a full ammo supply.
If you are under a canopy, the infrared respawn light will bounce and trigger your gun, but if you are outdoors, you may have to place the gun or your head sensor over the medic box.
As in the last photo, the medic box respawn rays need to get to one of your three sensors, be it gun or head sensors.
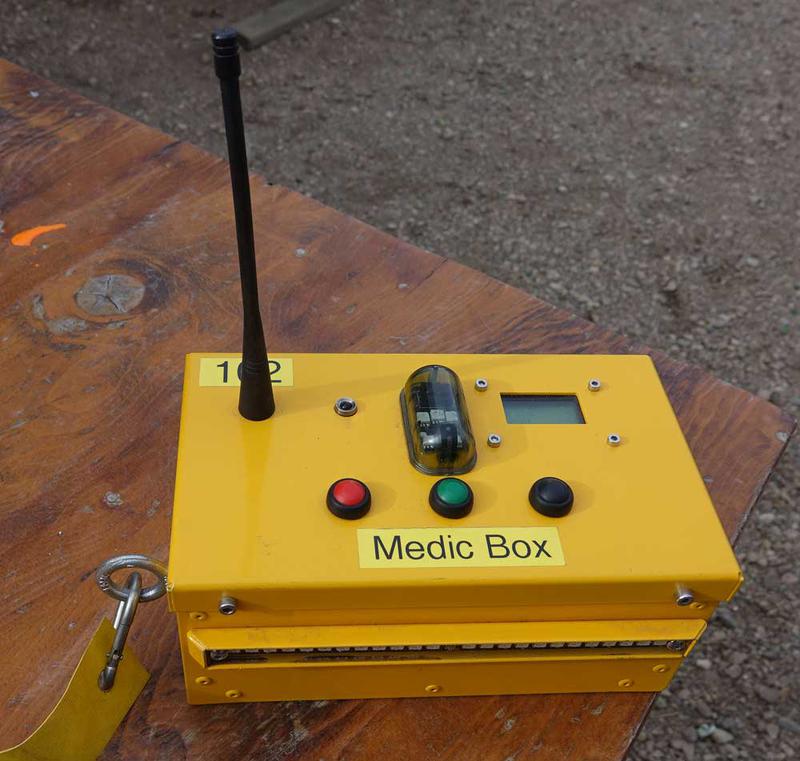
The new medic boxes work the same way. They are smaller, bright yellow, and have a green trigger button.
How to use your laser gun
How to stay safe
Our Youtube video (above) covers basically the same material that this page presents in photo and text form. Since the video was made, we have upgraded our gear and the photo and text presentation has also been upgraded to show the changes from the old system. Video is slightly dated and isn't updated.
The Youtube video below, explains a mini-tag game example.
This photo shows our new attachment system.
Our new system! Pop - and it is good to go!
This photo shows our current guns which have large, red dot sights.
You have scored 5 (H) hits.
You haven't scored any (K) kills.
The S shows that you haven't recorded any respawns yet.
The 1B shows that you are on the 1B team which is usually Team Gold. 1A shows you are on the 1A team which is usually Red. Friendly fire has no effect.
Your gun is Ready as opposed to being Dead. And your gun is set on FA which means "full auto".
Old style medic box.
Old style medic box.
Old style medic box.
New style medic box.
The gun pictured is on a P90 gun configuration. It has 7 clips and only 8 shots have been used from the first clip.
Here are a few more helpful details about our latest equipment.
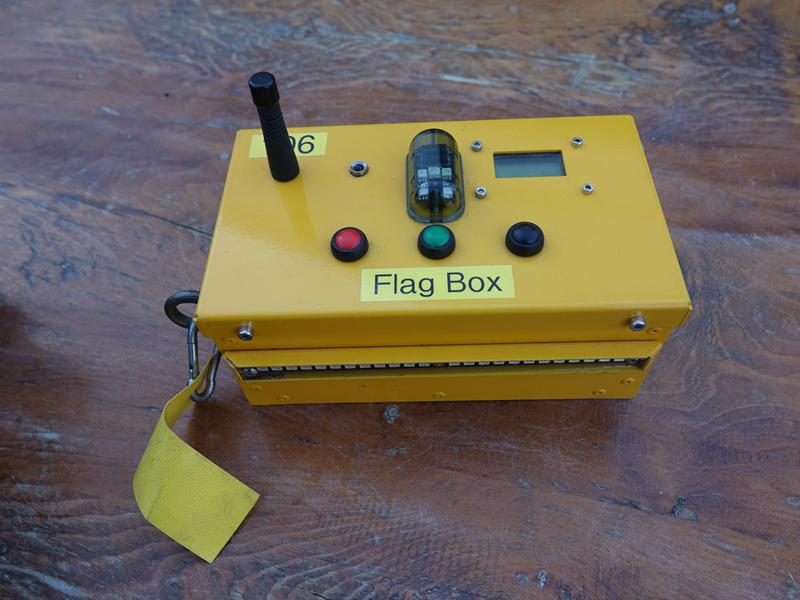
One game you will likely play is "Capture the Flag". Each team has a "Flag Box" at their base. The goal is to run to the enemy base, shoot their flag box (which puts a flag signal into your gun) and then run like mad back to your base and shoot your flag box. Make sure you have ammo and manage to stay alive - and your action will deposit a "flag" into your team box and give your team one point. When you are carrying a flag signal, your head sensors will flash blue and red. Get killed, and the "flag" is lost.
Any player can do the job so more than one "flag" can be on the move at any time.
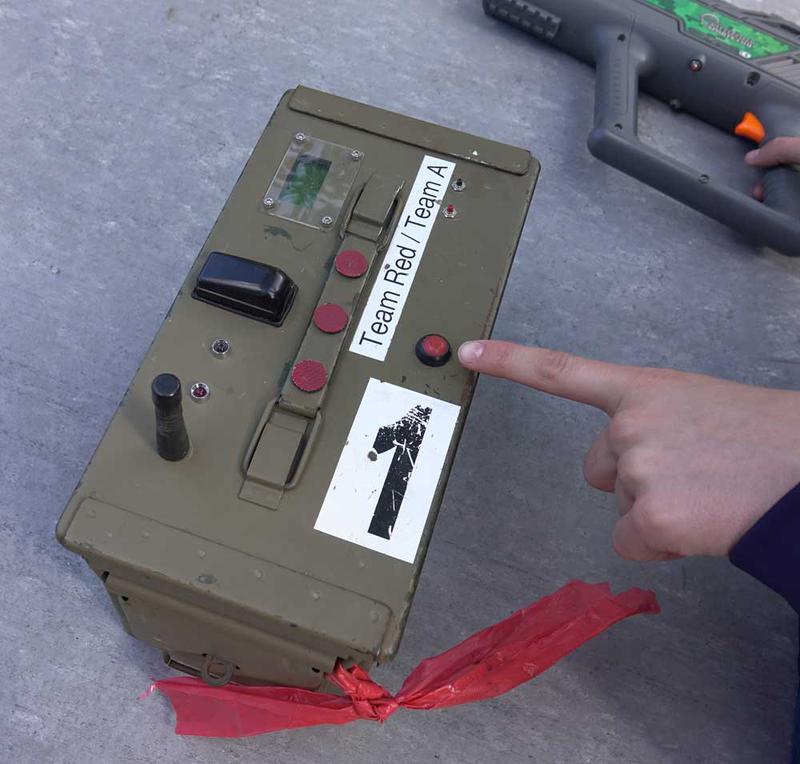
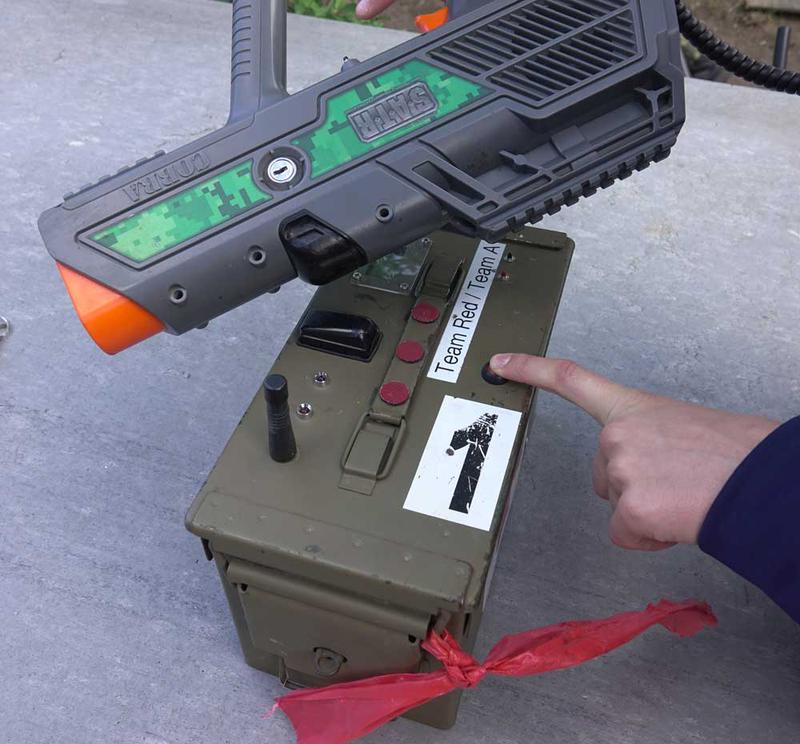
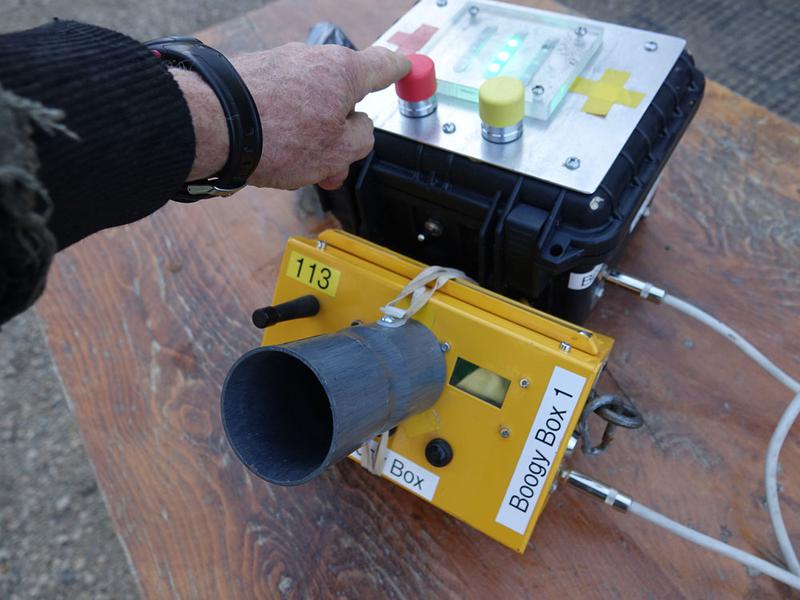
Another piece of equipment that you will likely use is the Boogy Box. Various games we offer require you to claim a base by pressing a team colour button. Once you have claimed a base, you start getting points for each second you hold the base and a signal light will show that your team is in control.
Keep the enemy away, and your little "point mine' keeps producing for your team!
To prevent "dead" players from claiming a base, we utilize the Boogy Box.
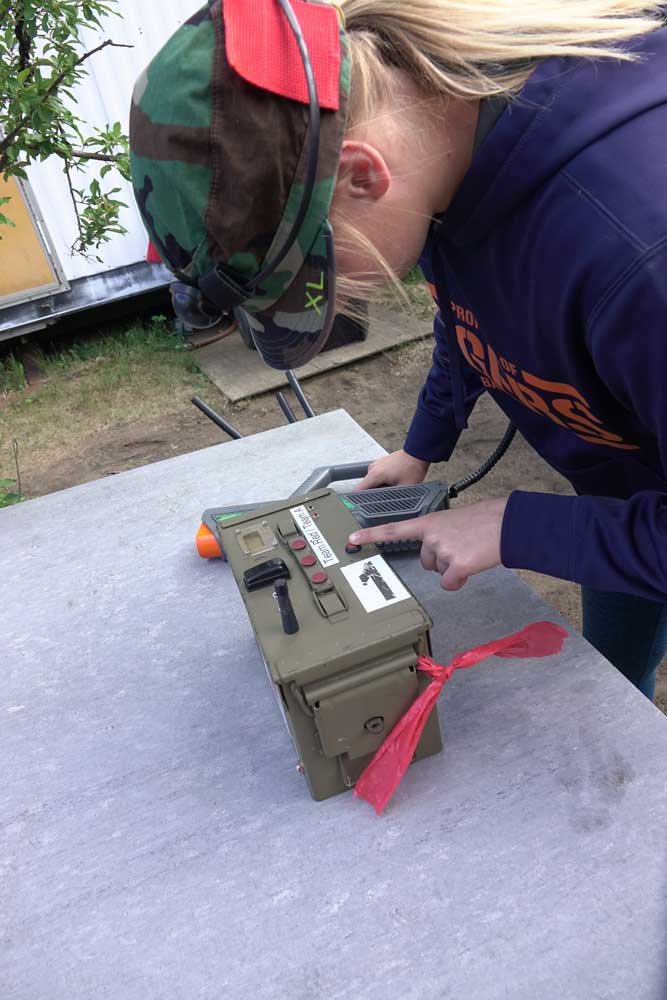
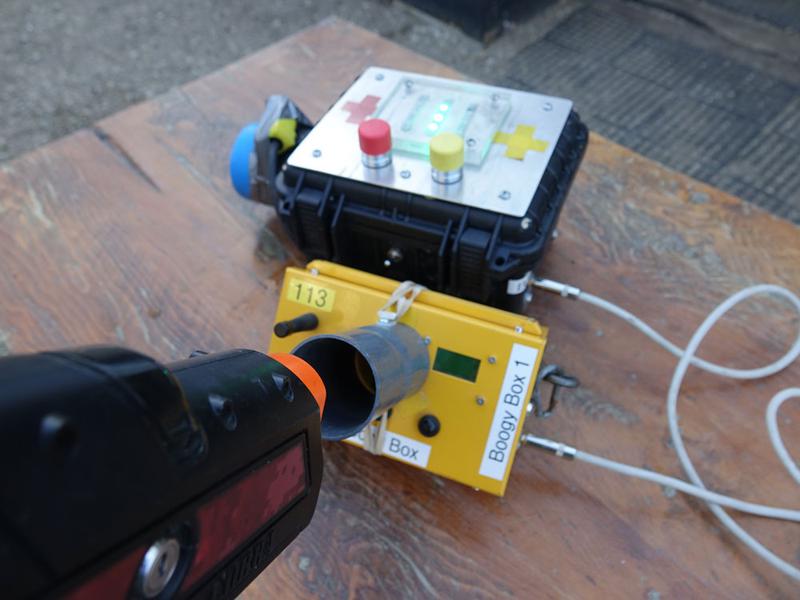
The finger buttons are useless on their own. You must depress a team colour button AND then, while depressing the button, shoot your laser gun into the Boogy tube. That action, with a live laser gun, will connect the finger button and the base will change to your team colour.
No live laser gun? - no use pressing the button! - only the Living get to change the base status!
The Medic Box, the Flag Box, and the Boogy Box all look similar but you will know before a game starts where each box type is placed. And each game you play will be explained before the battle begins!
